 English
 Français
 Deutsch
 Español
 Italiano
 Русский
 Português
 العربية
 Türkçe
 Magyar
 Svenska
 Nederlands
 Ελληνικά
 Български
 Polski
 Gaeilge
 Dansk
Dansk Lietuvių kalba
 Suomi
Suomi Hrvatski
 Română
 Latviešu valoda
 Korean
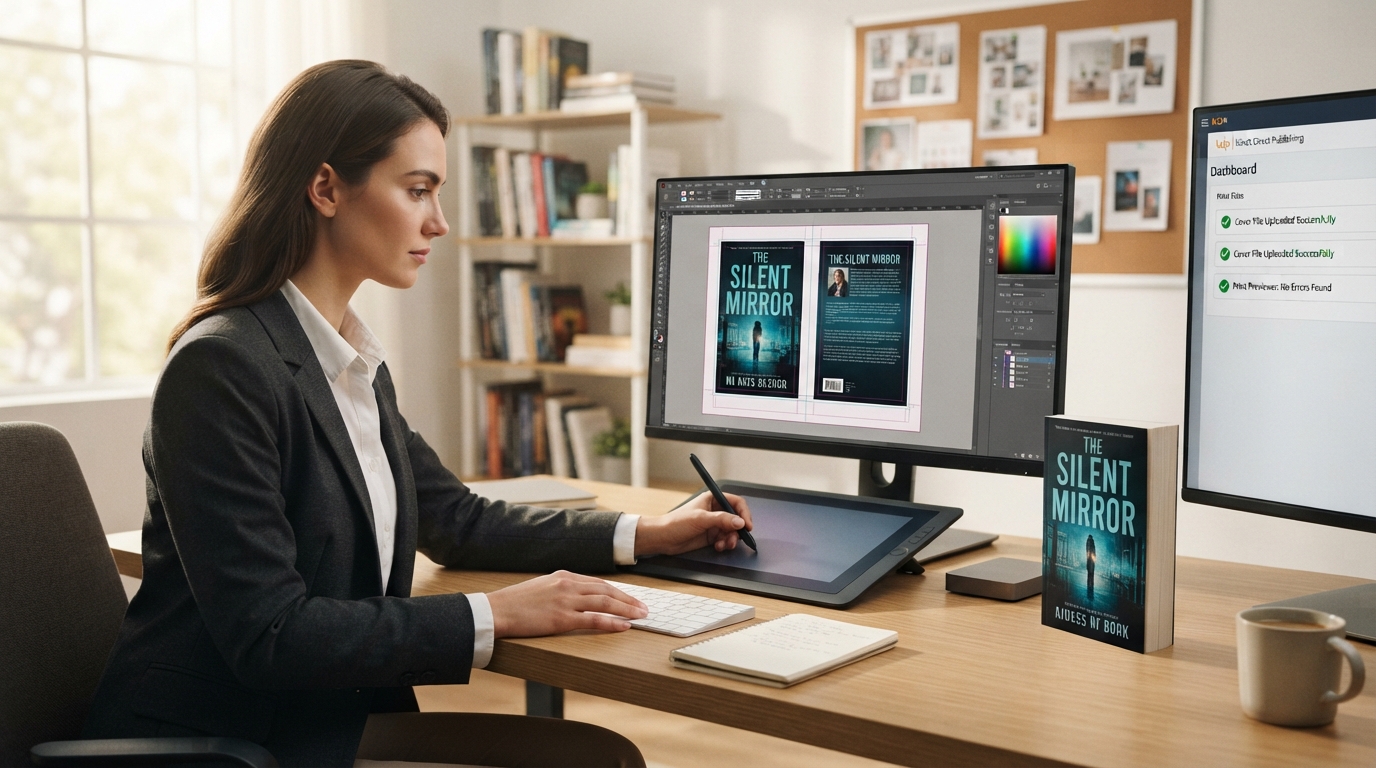
KDP cover file fix services resolve formatting errors that prevent paperback and hardcover books from passing Kindle Direct Publishing (KDP) quality checks. To fix a KDP cover error instantly, you must adjust the print-ready PDF to match the exact trim size, bleed specifications, and spine width calculated for your book’s page count and paper type. If you are struggling with recurring formatting rejection emails, professional ebook publishing services from trusted providers like Ghostwriting LLC can instantly convert your broken designs into error-free, retail-ready files.
The Nightmare of KDP Cover Rejections: Why Your File Failed
Few things are as frustrating to an indie author as receiving the dreaded “Your cover file does not meet our specifications” email from Kindle Direct Publishing. You have spent months, perhaps years, writing your manuscript. You hired an illustrator or designed a gorgeous cover yourself, only to have the automated KDP print engine reject it.
The reason for these rejections is simple: KDP operates on highly precise print-on-demand (POD) machinery. Unlike digital ebooks, physical books require microscopic physical accuracy. If your cover file is off by even a fraction of an inch, the cutting blades will slice off your title, or your spine text will bleed onto the front cover. To prevent these physical defects, Amazon’s automated previewer and manual review teams enforce strict guidelines. Understanding these rules is the first step toward fixing your file.
Deconstructing the KDP Cover Template: Anatomy of a Print-Ready PDF
To fix a broken KDP cover, you must first understand the technical anatomy of a print-ready PDF cover wrapper. A paperback or hardcover cover is not just a front image; it is a single, continuous flat sheet that wraps around the entire book. This sheet is divided into three critical zones:
- The Back Cover: Located on the left side of the flat PDF. This area contains your book description, author bio, publisher logo, and the barcode placeholder.
- The Spine: The central gutter that connects the front and back covers. Its width varies dynamically based on the number of pages in your manuscript and the thickness of the paper type you select (cream, white, or premium color).
- The Front Cover: Located on the right side of the flat PDF. This is the visual face of your book containing the title, subtitle, and author name.
Surrounding this entire layout are the technical boundaries that cause 99% of all upload rejections. Let us look at these boundaries in detail:
| Boundary Zone | Technical Definition | Why It Causes Errors |
|---|---|---|
| Trim Size | The final physical dimensions of the book after it is cut (e.g., 6″ x 9″). | If your PDF canvas size does not include bleed margins, KDP will reject it for being too small. |
| Bleed | An extra 0.125 inches (3.2 mm) added to the top, bottom, and outer edges of the cover. | Without bleed, physical cutting variations can leave ugly white slivers on the edges of your printed book. | The area inside the trim line where all text, logos, and critical design elements must reside. | If text or critical graphics extend into the 0.125-inch margin, the KDP automated system flags it as a cutting risk. |
| Spine Margin | The 0.0625-inch (1.6 mm) safety buffer on either side of the spine text. | Spine text must not touch the fold lines. If your book has fewer than 79 pages, KDP does not allow spine text at all. |
The Most Common KDP Cover Errors and How to Fix Them
When your cover fails the KDP upload check, the system usually provides an error code or a brief explanation. Let us analyze these common issues and look at the exact steps needed to correct them.
1. “Resize your cover to fit the template” / “Incorrect Page Dimensions”
This is the most frequent error. It happens when designers set their canvas size to the exact trim size (e.g., 6″ x 9″) instead of calculating the overall flat layout size. Your flat layout canvas must equal: Back Cover Width + Spine Width + Front Cover Width + Bleed (0.25 inches total horizontally and vertically).
The Fix: Use the official KDP Cover Calculator to input your exact page count, paper color, and trim size. Download the resulting PDF/PNG template. Open your design software (Adobe Photoshop, Illustrator, or InDesign), import the template on a background layer, and stretch or shrink your artwork to match the template boundaries exactly.
2. “Text is outside the safe zone” or “Text is in the bleed area”
Amazon’s automated review system scans your cover for text elements that sit too close to the edges. This includes author names, subtitles, review quotes, and barcode numbers. If any part of a letter crosses into the 0.125-inch safe zone perimeter, your file will be flagged.
The Fix: Open your design file and turn on ruler guides. Create a safety boundary that is 0.25 inches away from the outer trim edges. Drag all text layers inward, ensuring that no text elements or important non-background graphics cross this line. Pay close attention to the descenders of letters (like ‘g’, ‘j’, ‘p’, ‘q’, and ‘y’) as they often slip into the safety margin unnoticed.
3. “Incorrect Spine Width” / “Spine Text is Not Centered”
If your manuscript page count changes during the interior formatting phase, your spine width changes too. Even a difference of five pages can alter the spine thickness enough to trigger a KDP rejection or cause your spine text to wrap onto the front or back cover.
The Fix: Recalculate your spine width using the official KDP spine width calculator formula. Adjust your canvas size to match the new overall dimensions, and reposition your spine text so it is perfectly centered between the fold lines. Ensure you have at least 0.0625 inches of clear space on both sides of your spine text.
The Mathematics of Spine Width: Calculating Your Cover Dimensions
To ensure your paperback or hardcover cover fits perfectly, you can calculate the exact dimensions manually. The math varies depending on the paper type you choose, as different papers have different densities and thicknesses.
Here are the standard paper thickness multipliers used by Kindle Direct Publishing:
- Black & White Print on White Paper: Page count x 0.002252 inches (0.0572 mm)
- Black & White Print on Cream Paper: Page count x 0.0025 inches (0.0635 mm)
- Standard Color Print on White Paper: Page count x 0.002002 inches (0.0508 mm)
- Premium Color Print on White Paper: Page count x 0.002347 inches (0.0596 mm)
Spine Width Calculation Example
Let us calculate the overall cover size for a 200-page paperback book with a 6″ x 9″ trim size printed on standard black & white white paper.
- Calculate Spine Width: 200 pages x 0.002252 inches = 0.4504 inches.
- Calculate Total Width: Bleed (0.125″) + Back Cover Width (6.0″) + Spine Width (0.4504″) + Front Cover Width (6.0″) + Bleed (0.125″) = 12.7004 inches.
- Calculate Total Height: Bleed (0.125″) + Trim Height (9.0″) + Bleed (0.125″) = 9.25 inches.
Therefore, your print-ready PDF canvas size must be set to exactly 12.700 x 9.250 inches. If your file is even 0.05 inches off, the KDP system will reject your upload.
Color Space Conflicts: Why Your RGB Cover Looks Dull in Print
Another common issue that authors face is color shifting. You might upload a cover that looks bright and vibrant on your computer screen, only to receive a printed proof that looks muddy, dark, or washed out. This happens due to a conflict between color spaces: RGB vs. CMYK.
Computer monitors, tablets, and smartphones use the RGB (Red, Green, Blue) color model, which creates colors using light. Commercial printing presses, including KDP’s print-on-demand machinery, use the CMYK (Cyan, Magenta, Yellow, Key/Black) color model, which uses physical ink. Many bright neon colors, electric blues, and deep metallic shades that exist in RGB cannot be accurately reproduced using CMYK inks.
To avoid color shifts and potential file errors, follow these rules:
- Convert to CMYK: Always design or convert your cover file to the CMYK color space before exporting your final PDF. This gives you a realistic preview of how the colors will look when printed on paper.
- Check Color Profiles: KDP recommends using the GRACoL 2006 or U.S. Web Coated (SWOP) v2 color profile for optimal print results.
- Avoid Heavy Ink Coverage: Ensure your total ink coverage (the sum of C, M, Y, and K percentages in your darkest areas) does not exceed 240%. Excessively wet ink can cause smudging, tearing, and automated system rejections.
Step-by-Step DIY Guide to Fixing Your KDP Cover in Photoshop
If you have access to Adobe Photoshop and want to fix your cover file yourself, follow this professional checklist to resolve almost any KDP cover template error:
- Download the Template: Go to the official KDP Cover Calculator, enter your book’s specifications, and download the ZIP file containing the PDF and PNG templates.
- Set Up Your Photoshop Canvas: Open Photoshop and create a new document. Set the width and height to the exact “Overall Dimensions” listed on your downloaded template. Ensure the resolution is set to 300 Pixels/Inch (DPI) and the Color Mode is set to CMYK Color (8-bit).
- Import the Template: Drag and drop the PNG template into your new canvas. Align it perfectly with the edges of your document and lower its opacity to around 50% so you can see through it. Lock this layer so it does not move.
- Align Your Artwork: Place your cover artwork on a layer below the template. Scale your background image so that it extends all the way to the outer pink edges (the bleed line). Do not leave any white borders.
- Check Text Placement: Verify that all text on your front cover, back cover, and spine sits completely inside the blue dashed lines (the safe zone). If any text crosses these lines, select those layers and move them inward.
- Manage the Barcode Area: KDP will print an automated barcode on your back cover unless you upload a custom barcode. Look at the yellow box on the bottom right of the KDP template. Make sure no text, logos, or important graphics are placed in this area, or they will be permanently covered by the barcode.
- Export to Print-Ready PDF: Hide the template layer so it is no longer visible. Go to File > Save As or Save a Copy, select Photoshop PDF, and use the High Quality Print or PDF/X-1a:2001 preset. This ensures all layers are flattened and fonts are embedded correctly.
Why You Should Partner with Professionals for KDP File Repair
While fixing KDP covers yourself is possible, it can be a highly technical, time-consuming process that requires expensive design software like Adobe Creative Suite. Many self-publishing authors spend days fighting with margins, bleed dimensions, and DPI settings, only to face repeated rejections from Amazon’s automated review system.
This is where professional KDP cover file fix services become invaluable. Partnering with a dedicated service like Ghostwriting LLC takes the stress out of the publishing process. Their team of professional book designers and formatting experts can quickly diagnose why your cover was rejected, recalculate your template dimensions, adjust color profiles, and deliver a guaranteed, print-ready PDF that passes KDP validation on the very first try.
By outsourcing this technical step, you can focus on what you do best: writing, marketing, and preparing for your book launch.
Real-Time KDP Troubleshooting: Frequently Asked Questions
Why does KDP say my cover is the wrong size when I used the exact trim size?
This is the most common misunderstanding in self-publishing. Your cover file cannot be the same size as your book’s trim size (e.g., 6″ x 9″). It must be a single flat PDF that includes the back cover, the spine, the front cover, plus an extra 0.125 inches of bleed around all outer edges. You must calculate the overall flat layout dimensions, not just the front cover size.
How do I fix the “Low Resolution” cover error on KDP?
KDP requires all images and export files to be at least 300 DPI (dots per inch). If you designed your cover using web images (which are typically 72 DPI), stretching them to fit a print layout will make them look blurry, triggering an error. To fix this, you must replace low-resolution assets with high-resolution vector files or 300 DPI images. Simply changing the DPI setting in Photoshop from 72 to 300 will not work, as it stretches the existing pixels and results in pixelation.
Can I use Canva to design and export a print-ready KDP cover?
Yes, you can use Canva, but you must manually calculate the exact pixel or inch dimensions of your flat cover template before starting your design. When exporting from Canva, always select PDF Print and check the box for Crop marks and bleed. If your book has a complex page count, you may need to use a professional tool or service to adjust the spine width, as Canva does not support dynamic spine calculations natively.
What is the difference between paperback and hardcover KDP cover templates?
Hardcover books require a much larger bleed margin than paperbacks. Because the printed cover paper must fold over the heavy cardboard casing (a process called “wrap-around bleed”), KDP hardcover templates require an extra 0.59 inches (15 mm) of bleed on all sides. Paperback templates only require 0.125 inches (3.2 mm) of bleed. You cannot use the same cover file for both formats; you must create two separate files with different dimensions.


