In a world where publishing is no longer limited to the printed page, authors and book publishers are finding new ways to connect with readers, offer value, and showcase expertise. One powerful tool emerging in this space is the Jupyter Notebook—a format that combines narrative text, live code, visualizations, and interactivity.
For writers in genres like nonfiction, technology, education, or self-help, Jupyter Notebooks provide an excellent medium for sharing tools, tutorials, or data-backed insights. And there’s no better place to host and share these notebooks than GitHub, a widely trusted platform for storing and sharing versioned content.
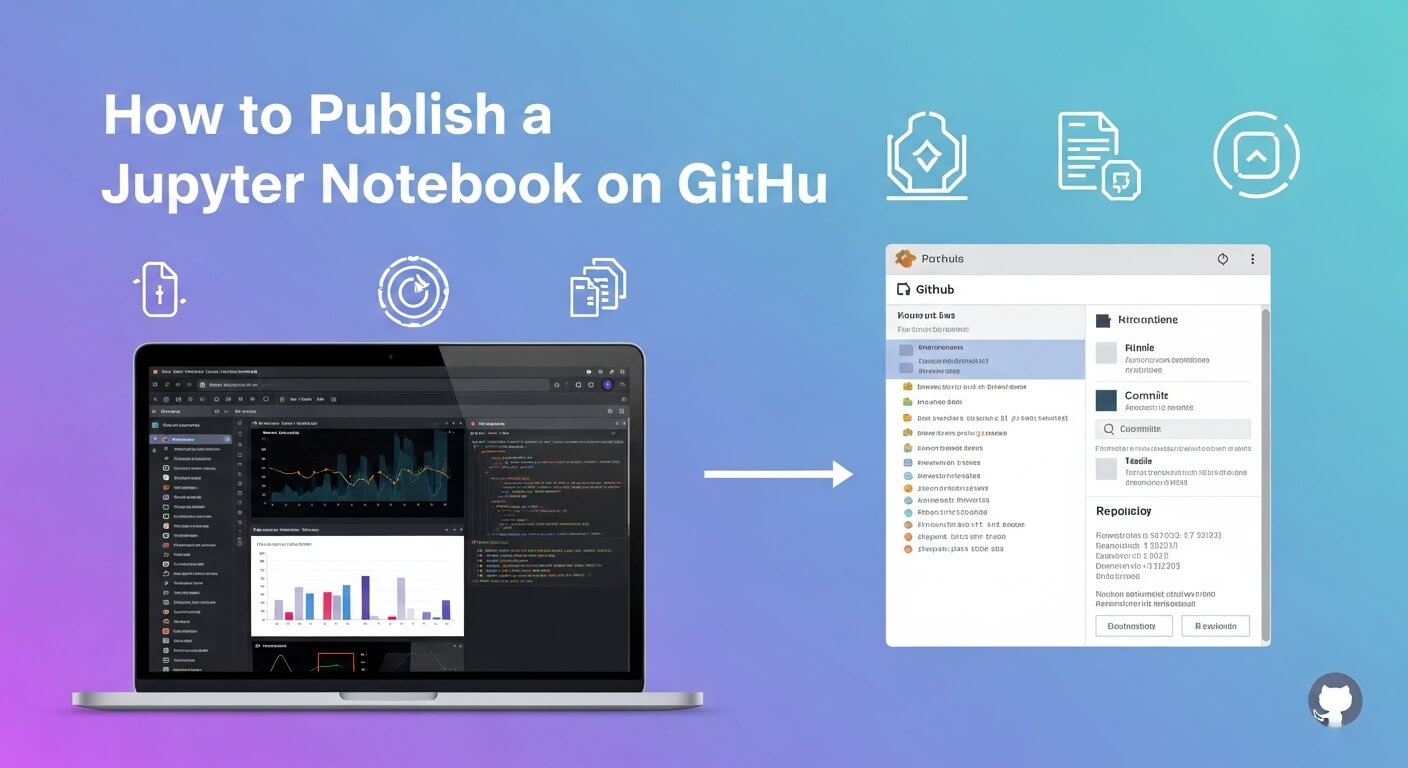
This guide walks you through how to publish a Jupyter Notebook on GitHub and use it to elevate your book or brand as an author.
What Is a Jupyter Notebook?
A Jupyter Notebook is an interactive document that allows you to blend executable code, formatted text, and visual content in a single file. Originally created for data scientists and developers, it’s now widely used in publishing, education, and research.
For authors, Jupyter Notebooks can serve many roles:
- Share companion tools or exercises from your book.
- Demonstrate live examples or calculations (e.g., royalty estimators).
- Offer tutorials that align with book chapters.
- Present transparent research or datasets that back your writing.
Why Authors and Publishers Should Use GitHub
While you can share notebooks via email or personal websites, GitHub provides several benefits for authors:
| Benefit | Description |
|---|---|
| Free & Accessible | GitHub accounts and public repositories are free and easy to set up. |
| Professional Presentation | GitHub renders Jupyter Notebooks beautifully and reliably in-browser. |
| Easy Sharing | You can share a notebook via URL with no download required. |
| Interactive Experience | Notebooks can be opened in platforms like Google Colab for live use. |
| Transparency & Authority | Sharing your source code or data builds credibility with your audience. |
If you’re a nonfiction writer or educator, providing a notebook adds serious value to your content—especially for readers who want to learn by doing.
Step-by-Step Guide: Publishing a Jupyter Notebook on GitHub
1. Create a GitHub Account
Start by visiting github.com and signing up for a free account if you don’t already have one.
Choose a username that reflects your author brand or book name to keep your profile consistent across platforms.
2. Prepare Your Notebook
Before uploading, finalize your .ipynb file. Make sure it includes:
- Clean, clear section headings
- Inline documentation in Markdown cells
- Comments in code blocks
- Inputs/outputs that relate directly to your book or concept
For example, if you’re writing a guide on self-publishing analytics, your notebook might help readers estimate print costs or sales royalties.
3. Create a New GitHub Repository
A repository is like a project folder on GitHub.
- Log in and click the “+” icon in the top right.
- Choose “New repository”.
- Give it a name (e.g.,
kdp-royalty-calculatororbook-chapter-notebooks). - Add a description to help readers know what it contains.
- Choose Public so others can access it.
- Click Create repository.
4. Upload Your Notebook
Option A: Use GitHub’s Web Interface
This is the easiest way:
- Go to your repository.
- Click Add file → Upload files.
- Drag and drop your
.ipynbnotebook file. - Add a short commit message like “Added Chapter 3 print cost tool”.
- Click Commit changes.
Option B: Use Git (Advanced)
If you prefer command-line tools:
5. Add a README File
Your README.md serves as the landing page for your repository. It should include:
- A short summary of what the notebook does
- Which part of your book or course it relates to
- Instructions for how to open or use it (e.g., in Google Colab)
Example:
6. Make It Easy to Use
Not every reader will have Jupyter installed, so make your notebook accessible:
- Use platforms like Google Colab to run the notebook online with one click.
- Include a link or badge in the README that says “Open in Colab”.
- Test that your links work.
Example Applications for Authors
| Use Case | Description |
|---|---|
| KDP Royalty Calculator | Help readers estimate what they’ll earn from different pricing strategies. |
| Print Cost Estimator | Let users input page count, trim size, and get a print cost breakdown. |
| Marketing ROI Tracker | Showcase how book promotions perform using data visualizations. |
| Writing Habit Analyzer | Share your word count progress via data analysis. |
These interactive tools extend your book’s value and help readers engage with your ideas in meaningful ways.
Tips for Organizing Notebooks by Chapter
If you’re writing a book or guide with multiple technical components, you can organize notebooks like this:
This structure mirrors your book and makes it easier for readers to navigate.
How to Let Readers Find Your Notebook Easily
Here are some simple ways to make your notebook findable:
- Use clear, descriptive titles in your GitHub repository and notebooks.
- Include meaningful keywords in your README and Markdown headings.
- Link your GitHub repo from your book, blog, or author website.
- Mention the tool or notebook in your Amazon book description if relevant.
- If your notebook answers a specific question (e.g., “How do I calculate KDP royalties?”), make sure that phrase is naturally used in the description.
These small touches help readers—and search engines—understand and locate your content more easily.
Frequently Asked Questions
Can I publish multiple notebooks in one repository?
Yes, you can publish multiple .ipynb files in a single repository. Organize them by topic or book chapter to keep things clear for readers.
Do readers need any software to open notebooks?
No. If you link to platforms like Google Colab or NBViewer, readers can view or run your notebooks without installing anything.
Is GitHub free for authors?
Yes, GitHub offers free accounts with unlimited public repositories, which are ideal for sharing educational or book-related content.
Can I update my notebook after publishing?
Absolutely. You can upload new versions or edits anytime. GitHub keeps track of version history automatically.
Should I include a license?
Including a license (e.g., MIT, CC-BY) in your repository tells readers how they can use your notebook. It’s especially helpful if you’re open-sourcing your content or allowing remixing.
Final Thoughts
Sharing a Jupyter Notebook on GitHub opens new doors for author-reader engagement. Whether you’re teaching a topic, offering a companion tool, or adding transparency to your data-driven writing, notebooks offer a dynamic way to connect.
And while setting this up takes just a few minutes, the value it offers your audience can last long beyond your book’s release.
If you’ve written something worth sharing, don’t just tell—show. Your readers will thank you for it.
