Short books hold a unique charm. Whether it’s a mini-guide, a children’s picture book, a compact poetry collection, or a promotional piece, 10-page books are ideal when your message is focused and intentional. In a world full of long reads and lengthy manuals, a concise book often feels refreshing and more digestible.
But don’t let the page count fool you—creating a compelling 10-page book still takes thoughtful planning, structure, and design. From choosing a specific topic to formatting and publishing, each decision matters when space is limited.
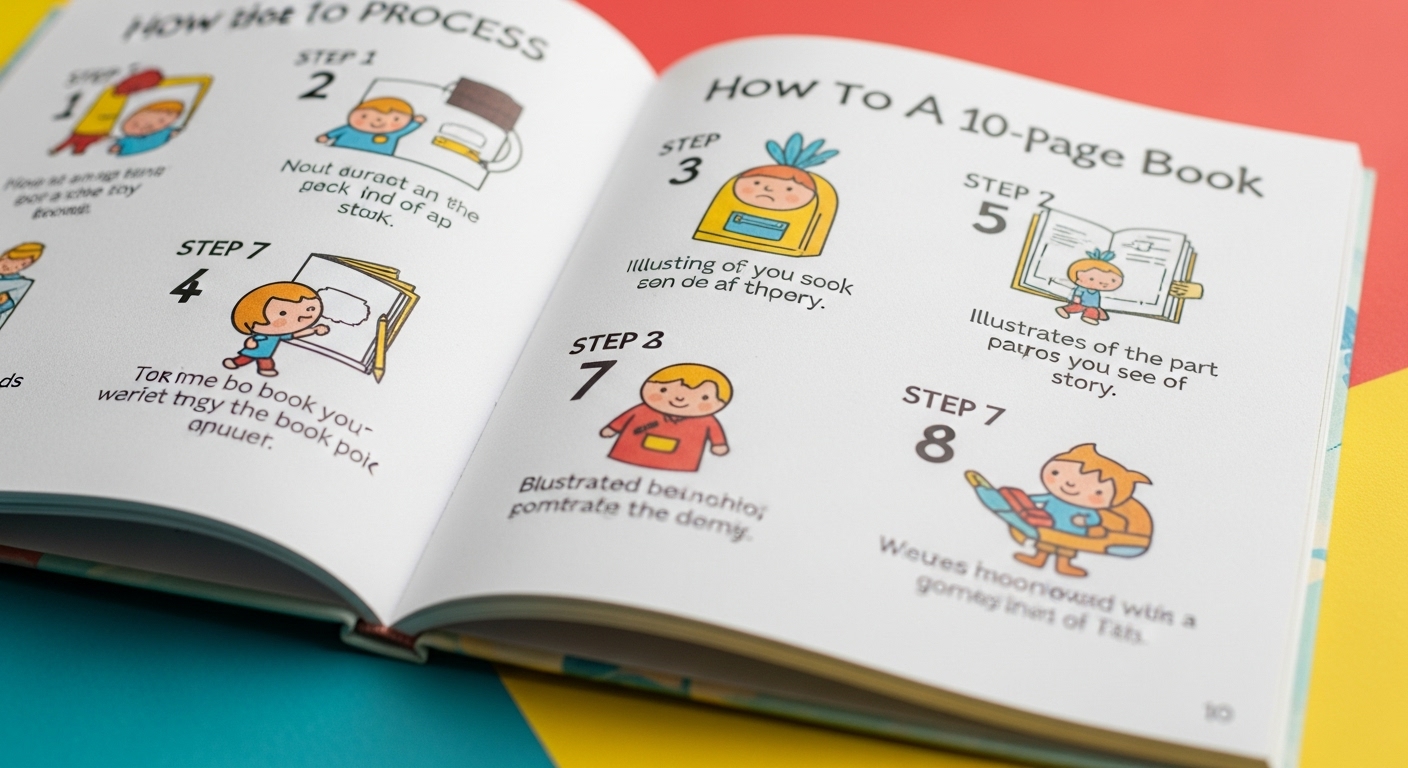
In this guide, we’ll walk you through each step of creating a polished, purposeful 10-page book. Whether you’re writing it for personal, professional, or creative reasons, you’ll learn how to keep things simple, engaging, and print-ready.
1. Planning Your 10-Page Book
Before writing a single word, it’s important to clarify what you want your short book to achieve. Planning early can help prevent confusion, overstuffing, or unnecessary revisions later on.
1.1 Define Your Goal
Start by asking: Why are you making this book?
Is it meant to:
- Tell a short children’s story?
- Act as a mini-workbook or journal?
- Showcase poems or affirmations?
- Serve as a marketing tool or lead magnet?
Understanding the end use will guide your content, design, and tone. For example, a kids’ bedtime storybook will differ greatly from a 10-page wellness guide.
1.2 Choose a Focused Topic
The shorter the book, the narrower the topic needs to be.
Instead of trying to teach everything, zoom in on one clear message or benefit.
For example:
- ✅ “5 Quick Productivity Hacks”
- ❌ “Mastering Productivity in Life and Business”
Keep your idea simple and specific so it fits naturally into 10 pages without feeling cramped or rushed.
1.3 Outline Your Content
Now break down how your idea will unfold across the pages. Think in terms of moments or key points—not chapters.
Example structures:
- Children’s Story: Title – Introduction – Rising Action – Climax – Ending – Closing page
- Mini-Guide: Cover – Introduction – 3–5 main tips – Summary – CTA
- Poetry/Quotes: Title – One quote/poem per page – Final reflection
This skeleton will keep your writing and visuals organized from the start.
2. Writing Your Book Efficiently
In a short book, every word must pull its weight. Focus on clarity, rhythm, and emotional or instructional impact, depending on your goal.
2.1 Keep Language Clear and Direct
Don’t waste space with filler. Use simple, strong sentences. Instead of long-winded paragraphs, break ideas down using:
- Bullet points
- Short lines or stanzas
- Visual cues (icons, highlighted words)
Ask yourself: Would this still work if I read it aloud?
That’s especially helpful for children’s books or inspirational reads.
2.2 Write for Your Page Limit
For a 10-page book with illustrations or design elements, you’re likely aiming for:
- 300 to 500 words total (sometimes less)
Distribute your words based on layout:
- Full-text pages: 50–75 words
- Image-heavy spreads: 10–20 words
- Cover and closing pages: title, credits, brief notes
Adjust line spacing, font size, and margins as you format to see what fits comfortably without feeling crowded.
2.3 Make It Visually Appealing
Even in short books, design boosts readability and gives the book its tone.
Balance your layout with:
- Clean spacing between lines
- Short paragraphs or captions
- Visual hierarchy (bold headings, callouts)
Use tools like:
- Canva (user-friendly, great templates)
- Adobe InDesign (for pro-level layout)
- Google Slides (simple and flexible for print-ready PDFs)
The goal is to make every page easy on the eyes and enjoyable to flip through.
3. Designing & Formatting Your Book
Your 10-page book might be small, but that doesn’t mean it should look amateur. A clean, intentional design can elevate it and make it feel like a complete product.
3.1 Choose the Right Size & Layout
Some common sizes that work well for short books:
- 5.5″ x 8.5″ – Classic and easy to print
- 6″ x 6″ or 8″ x 8″ – Great for children’s books or gift guides
- Landscape layouts – Best for portfolios or visual storytelling
Choose portrait for more traditional book formats, and square for playful or modern layouts.
3.2 Select Fonts and Colors
Stick with 1–2 clean fonts:
- Serif or sans-serif for body text (11–12pt)
- A bold or decorative font for titles (14–18pt)
Match your color palette to your content’s tone:
- Soft pastels for kids or poetry
- Bold tones for branding or how-to guides
Keep contrast high between background and text for readability.
3.3 Add Images or Illustrations
Images help you say more with fewer words. Consider:
- Canva & Unsplash – For free stock photos
- Custom art or illustrations – If you want something more unique
- Icons or doodles – To highlight tips, steps, or quotes
Align images with the flow of your message, and avoid cluttering the page.
4. Publishing & Printing Options
Once your 10-page book is written and designed, it’s time to share it with the world — either digitally or in print.
4.1 Digital Formats (PDF, eBook)
Export your book as:
- A PDF for free downloads, lead magnets, or email giveaways
- An interactive eBook (ePub) if using certain platforms
Great platforms for selling or sharing:
- Gumroad
- Payhip
- Etsy (especially for printable mini-books or zines)
4.2 Print-on-Demand Services
Most POD platforms require more than 10 pages, but some can still be useful:
- Blurb – Offers booklet printing and photo books
- Lulu – Good for saddle-stitched or square books
- Amazon KDP – Requires minimum of 24 pages, so not ideal unless expanded
Always check formatting guidelines and cost per copy before uploading.
4.3 DIY Printing & Binding
If you want a hands-on option:
- Print your book at home on high-quality paper
- Bind with staples (saddle stitch), ribbon, or even glue
- Use cardstock for covers to give it a durable finish
This works especially well for classroom projects, gifts, or handmade sales.
5. Promoting Your Mini-Book
Even a short book deserves to be seen. With the right promotion, your 10-page book can reach new readers and serve as a valuable resource or brand tool.
5.1 Share on Social Media
- Post behind-the-scenes of your process
- Share sample pages or visual quotes
- Invite others to create something similar (great for engagement)
5.2 Offer as a Lead Magnet
- Use it as a freebie to grow your email list
- Embed it on your site or offer a free download in exchange for an email address
Short, useful content is ideal for lead generation.
5.3 Collaborate or Bundle
- Partner with other creators for bundle offers
- Use it as a bonus product in your online shop or courses
- Print small batches for giveaways at events or conferences
Conclusion
A 10-page book may be short in length, but with the right approach, it can be rich in impact. Whether you’re telling a story, teaching something useful, or showcasing your creativity, the smaller format encourages clarity, purpose, and design discipline.
Don’t underestimate the power of short books—they’re quick to make, easy to share, and incredibly versatile. Start small, stay focused, and make something you’re proud of.
FAQs
Q1: Can I sell a 10-page book on Amazon?
No — Amazon KDP requires a minimum of 24 pages. Use digital sharing (PDF) or platforms like Lulu or Blurb for short books.
Q2: What kind of stories or content work in 10 pages?
Simple story arcs, daily routines, motivational lines, poems, photo series, or even alphabet books — anything self-contained.
Q3: How should I print a 10-page book?
Use saddle-stitch (staple binding), hand-folding, or short-run printing from online platforms. PDFs can also be shared as eBooks.
Q4: Do I need illustrations for a 10-page book?
Not always — but for children’s books or visual content, strong, clean visuals add a lot. Use free tools or hire illustrators as needed.
